|
When an external vendor’s shipment arrives, you must receive the order and review each order item so they are registered in Inventory.
Tip: You can search for orders using the order number, P.O. date, or P.O. number.
Note: The P.O. Number field allows a maximum of 20 characters.
To receive an external order:
- Open the Inventory module and click the Pending External Orders tab.
- Enter the appropriate search criteria and click Search.
Tip: If present, note the P.O. Number column value for the arrived order(s).
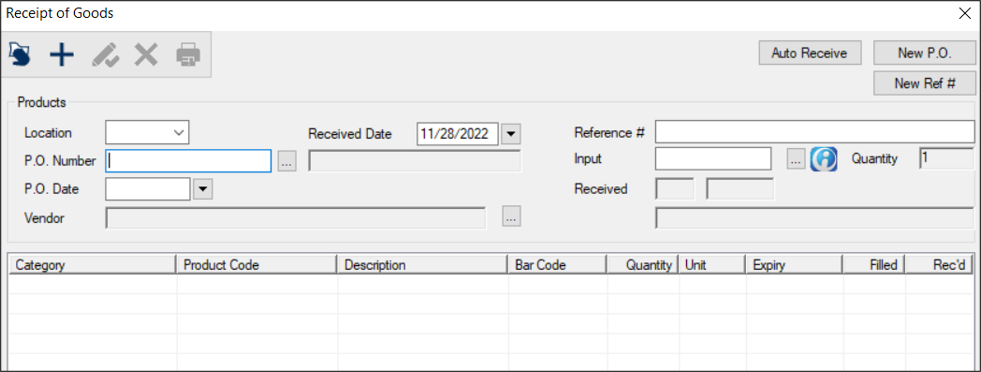
- Click Receive... to display the Receipt of Goods window.
- From the Location drop-down list, select the location receiving the order.
-
Display the list items using one the following methods :
- In the P.O. Number field, enter the order number to display the order items automatically in the lower pane.
- Search for the order using the order number, P.O. date, or P.O. number.
-
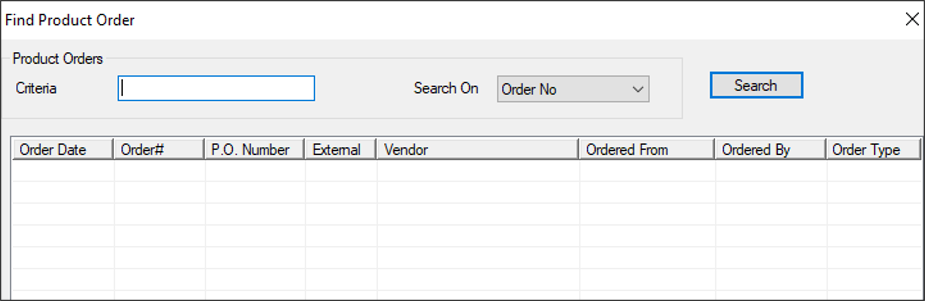
Click the P.O. Number ellipsis to display the Find Product Order window.
-
Compete the fields as necessary and click Search.
- Criteria: Enter the order number, P.O. number, or P.O. date.
- Search On: Select Order No, P.O. Number, or P.O. Date from the drop-down list.
-
(Optional) Click a column header to sort.
-
Double-click an order to select and display in the Receipt of Goods window.
- Enter list items manually.
- In the Input field, enter the item quantity press Enter.
-
Enter the Product Code using one of the following methods:
-
Click the ( ) icon and scan the product bar code. ) icon and scan the product bar code.
-
Next to the Input field, click the ellipsis to select the product.
- Click the Add a new Record (
 ) icon or press Enter. ) icon or press Enter.
If an expiry date is associated with the list item, a Product Expiry window displays.
-
Read the product expiry date, and in the Expiry Date drop-down, select the correct date and click OK.
The expiry date displays in the Expiry column for that item.
-
Repeat Steps a-d as necessary for all list items.
Note: If you entered list items manually, you can skip to the end of the procedure.
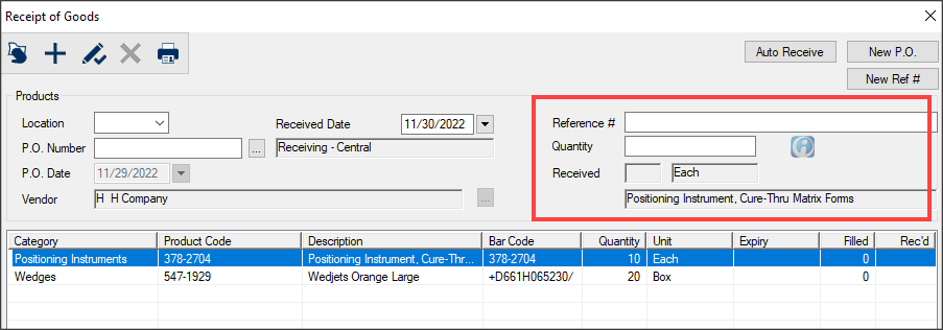
- Select a list item.
The Input field becomes the Quantity field and the Received fields reflect the item’s unit type and description.
- (Optional) In the Reference # field, enter a unique code for the item.
Note: If entered, this number can be used later for reporting purposes.
- In the Quantity field, enter the number of shipped items and press Enter.
The number populates in the Received field, and across from each lower list item, the Filled and Rec’d column values reflect the value entered.
Note: If only a partial order for a product arrived, enter the amount you received.
Example: If you ordered 50 boxes of film tabs and you only received 25, enter 25 in the Quantity field.
If an expiry date is associated with the list item, a Product Expiry window displays.
- (Optional) If the received order quantity is less than the ordered number, create a back-order.
- Right-click the product and select Back-Order.
The entry text changes to red to indicate it is on back-order.
- Repeat Steps 5-9 as necessary for all list items.
- (Optional) Click New P.O. to clear the P.O. number and use the P.O. Number field to continue receiving products from a different purchase order.
- Close the Receipt of Goods window.
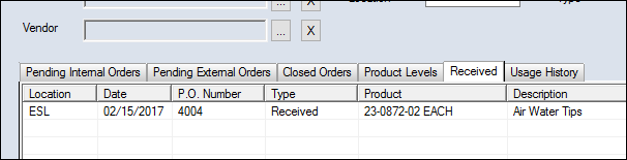
In the Received tab, the order type reads as Received, Partial Fill, or Back-Ordered.
|