Allocate Adjustments
|
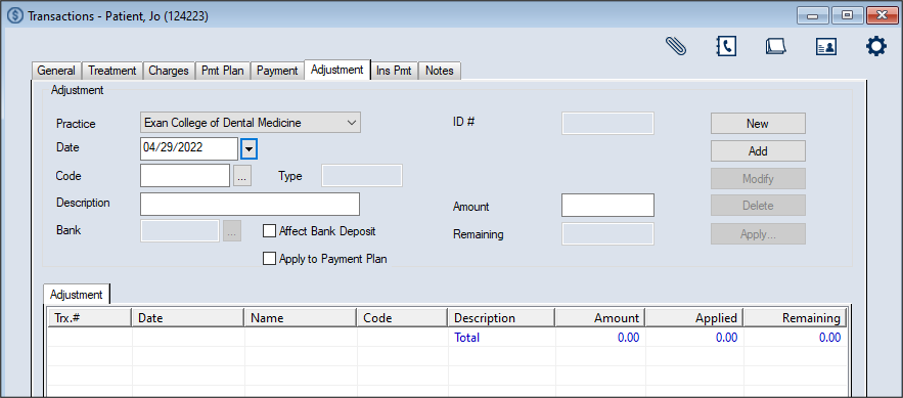
Once an adjustment has been added, it can be allocated to specific treatments, payments, and/or office charges. Note: Unapplied adjustments display in green text. You can allocate adjustments from the Transactions module > Adjustment tab. To allocate an adjustment:
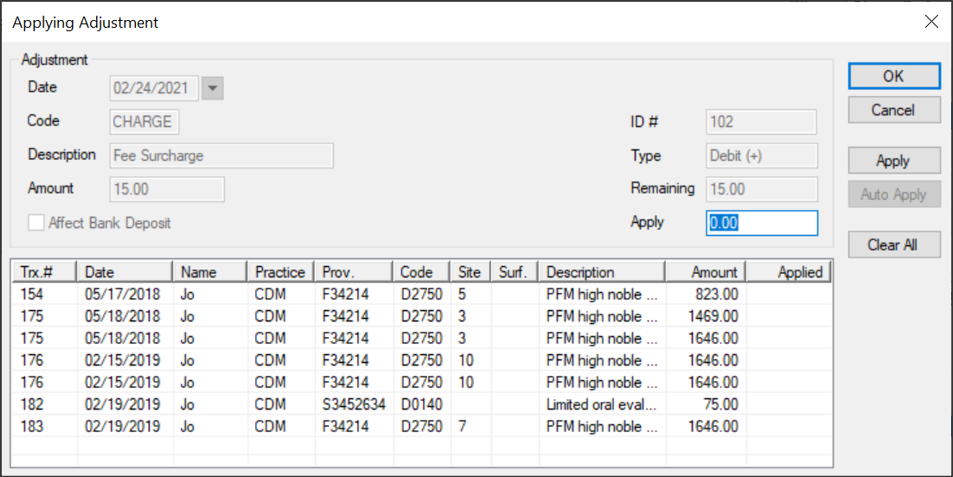
All payments and charges on the selected patient’s account that are not fully allocated and can be adjusted display. Note: If the adjustment is for a payment, any payments that have not been fully allocated display. If the adjustment is for a charge, any charges that have not been fully allocated display.
The adjustment amount displays in the Applied column next to the outstanding record(s) and the remaining balance displays in the Amount column. Tip: If you need to correct any allocations, click Clear All and repeat Steps 4-5. Adjustments that are fully allocated display in black text while those that are partially allocated display in green text. Note: If viewing a payment record that has been adjusted from the Payment tab, the record displays in red text. Tip: We recommend you enter a patient note with the reason for the adjustment and the Trx #. |