View Weekly/Monthly Schedules
|
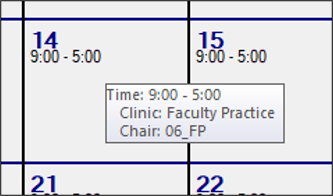
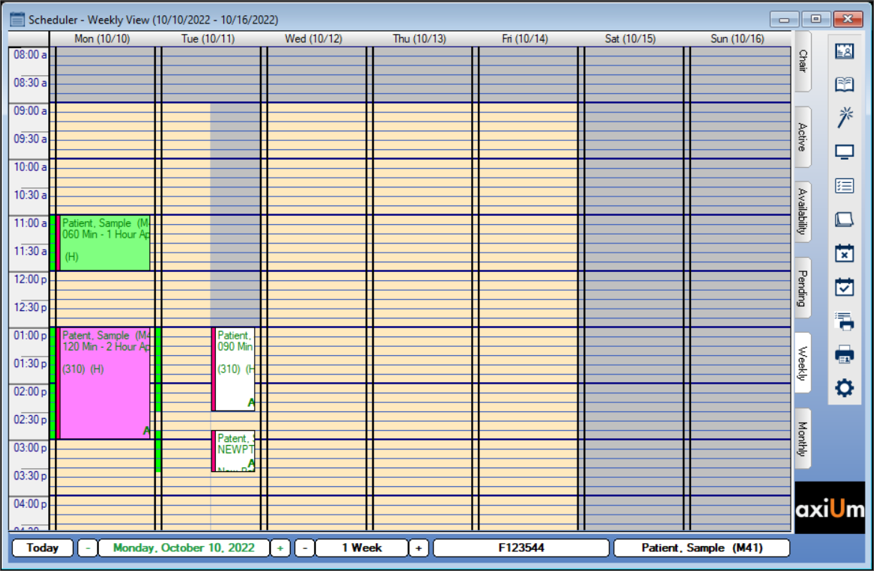
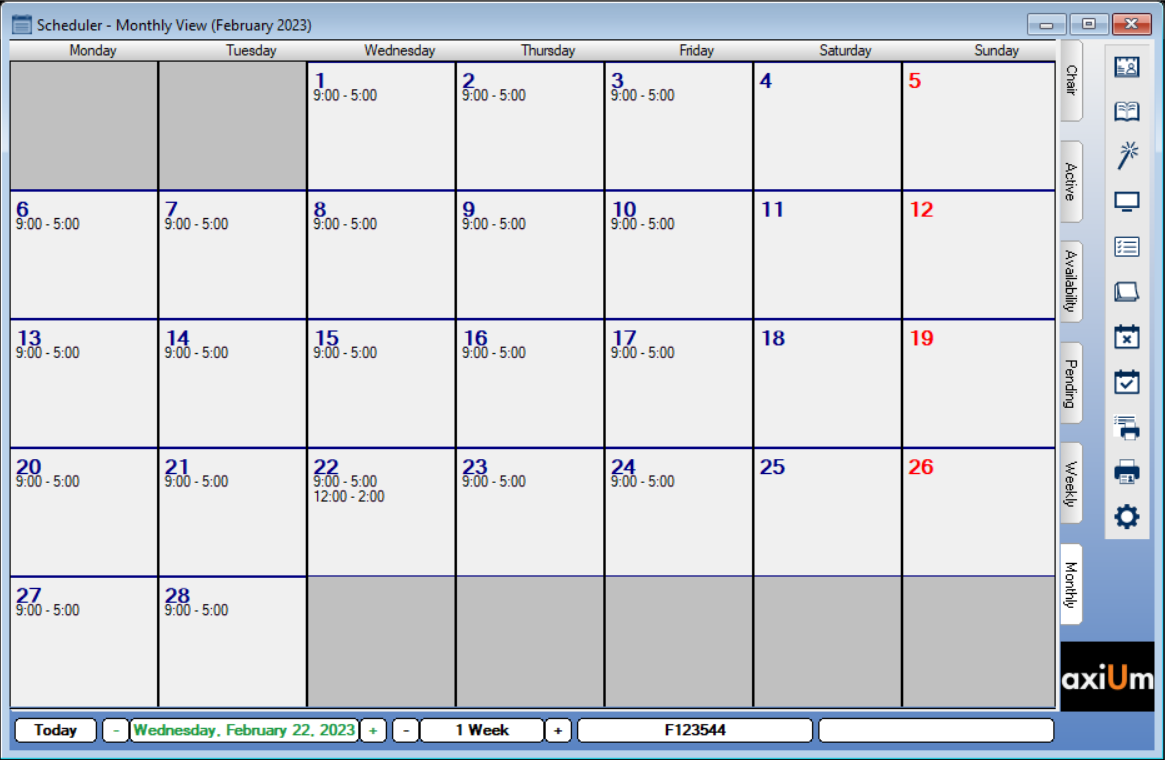
The Weekly and Monthly tabs allow you to view the currently selected provider’s schedule for a given week or month. All reservations display in the Monthly tab with a start and end time. Tip: You can click a column header on the Weekly tab or a date on the Monthly tab to open the Active tab with that date selected. You can access the Weekly and Monthly tabs to review information about the provider’s appointments. You can also perform a variety of other tasks related to appointments from the Weekly tab. Tip: You can hover over a reservation to display more information.
A variety of colors can display in the Weekly tab. This includes appointment text colors, time block background colors, provider schedule colors, provider time column colors, and alert colors. To view the weekly or monthly schedule:
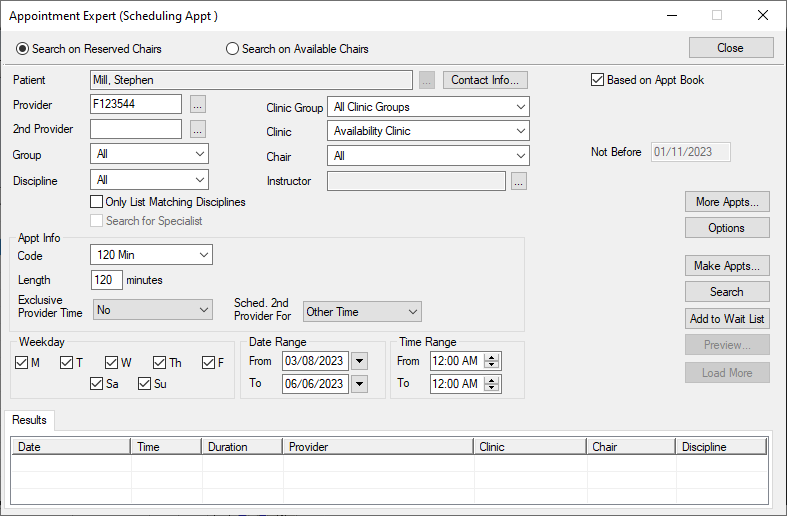
Note: No additional tasks are available from the Monthly tab. The Appointment Expert allows you to search for available times in the Scheduler and book appointments.
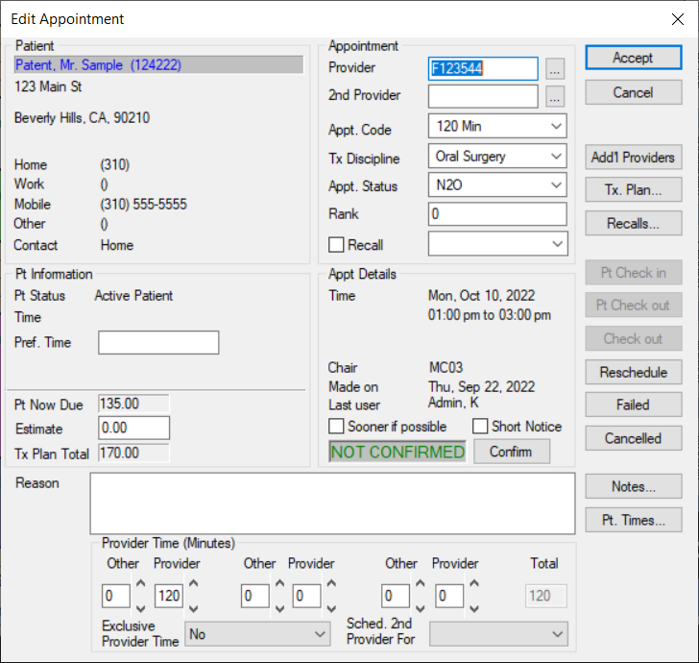
The patient’s name displays in purple text to indicate they are signed in and a blue Patient Arrival indicator displays on the provider’s status bar:
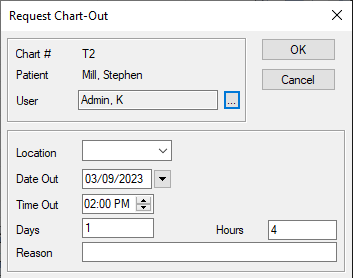
The patient’s name displays in red text to indicate they are checked in to a clinic. The patient’s name displays in the Scheduler in gray text to indicate they are checked out of the clinic. Tip: If checked out by mistake, right-click the appointment and select Undo Patient Check Out. The appointment text displays in black text to indicate the patient is seated in the clinic. Chart requests control access to paper charts so only one person may use a chart at one time. In most cases, an automatic chart request is sent when the appointment is scheduled, but you can make manual chart requests when necessary. Note: If the patient has an electronic chart, a prompt displays. Click Yes to display the Request Chart-Out window.
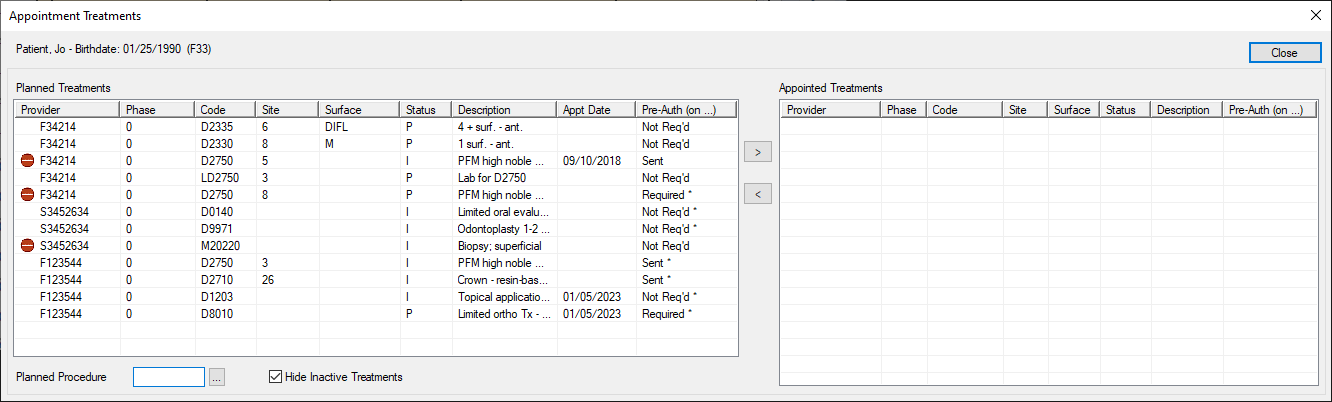
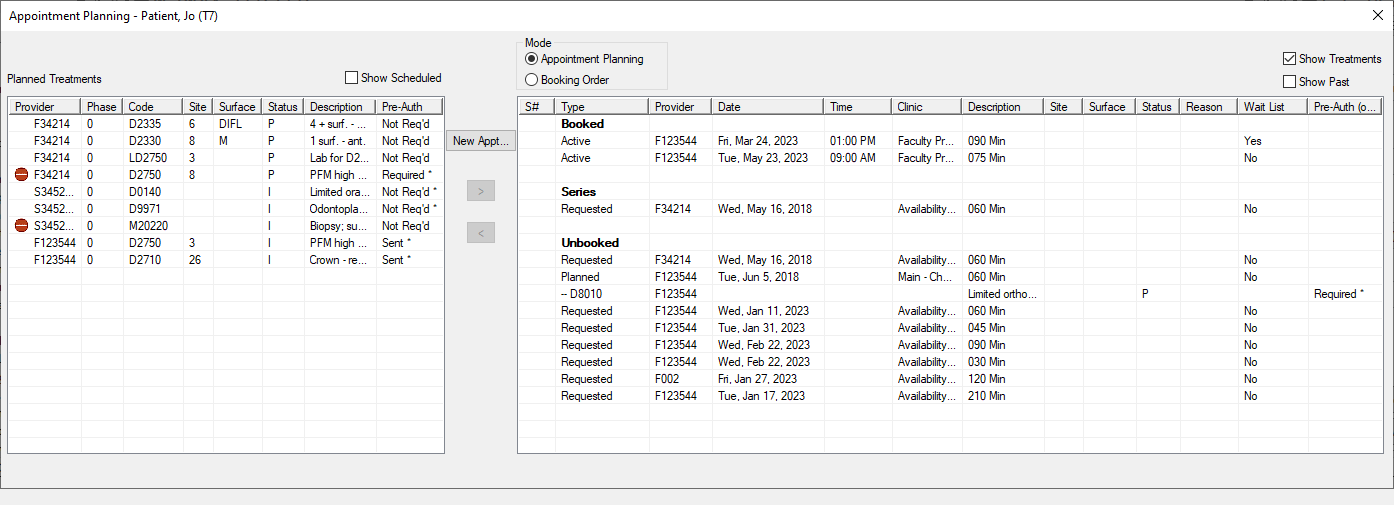
Note: Only approved planned treatments display.
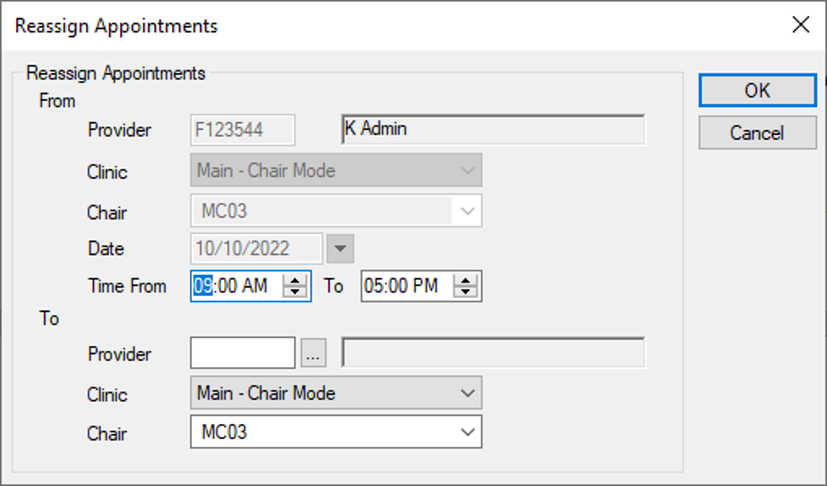
When necessary, you can reassign a provider’s appointments to another provider. Examples: You can reassign an entire day’s schedule to another provider or move all appointments to the other chair.
Tip: You can also right-click and drag to select a larger time block.
The appointment text displays in blue to indicate that the appointment is confirmed.
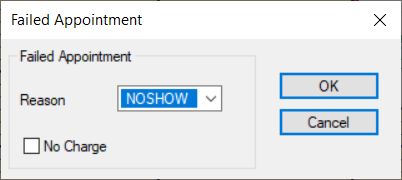
An appointment can be failed when the patient does not arrive for the appointment and did not provide cancellation notice.
X-ray technicians often need to add details about x-rays taken for the selected patient. Other providers can view those x-rays and details. Note: This option is only enabled if the appointment is a hygiene type appointment code. Tip: The window only displays if the appointment is today or a future date. The window cannot display if the appointment is past and the X-Rays Taken checkbox is deselected. Note: If the patient does not have another appointment, a No Next Appointment Warning window displays and prompts you to add one. Click Yes or No as necessary.
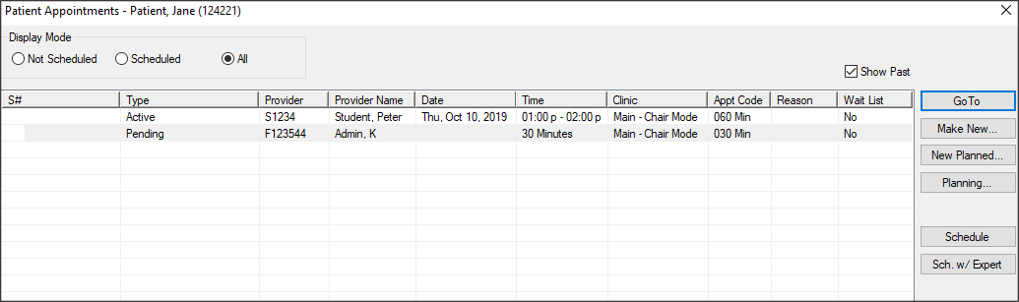
Note: The right-click option and window are managed from the Scheduler Options window > Patient/Family Appointments Window section > Mode field.
|